Clay has been the soul of handicrafts for centuries. From the terracotta figurines of ancient civilizations to the artisanal pottery of Khurja, clay has shaped culture, tradition, and creativity. If you’re passionate about handicrafts, learning how to make clay at home or in a studio is a rewarding skill. Not only does it connect you to age-old craftsmanship, but it also gives you control over the texture, quality, and sustainability of your creations.
In this blog, we’ll explore the step-by-step process of making clay for handicraft, the different types of clay, tips for beginners, and how to store and use clay effectively. By the end, you’ll have a complete roadmap to start crafting your own clay masterpieces.
🌍 The Heritage of Clay in Handicrafts
Clay is more than just soil—it’s a blend of earth, water, and creativity. Across cultures:
- India: Khurja, West Bengal, and Rajasthan are famous for pottery and terracotta art.
- Japan: The art of Raku pottery emphasizes simplicity and imperfection.
- Africa: Clay masks and vessels are deeply tied to rituals and storytelling.
- Europe: Fine porcelain and stoneware became symbols of elegance and trade.
When you make clay yourself, you’re not just preparing material—you’re continuing a tradition that has existed for thousands of years.
🏺 Types of Clay for Handicraft
Before diving into the process, it’s important to understand the types of clay available:
| Type of Clay | Characteristics | Best For |
|---|---|---|
| Earthenware Clay | Soft, porous, easy to shape | Decorative items, terracotta |
| Stoneware Clay | Durable, less porous, fired at high temperatures | Functional pottery, mugs, plates |
| Porcelain Clay | Smooth, white, delicate | Fine art, detailed handicrafts |
| Air-Dry Clay | No kiln needed, dries naturally | Kids’ crafts, small projects |
| Polymer Clay | Synthetic, baked in oven | Jewelry, miniature models |
For handicrafts at home, earthenware or air-dry clay is most practical. If you have access to a kiln, stoneware and porcelain open up more possibilities.
🧪 Ingredients Needed to Make Clay
Making clay is essentially about combining earthy materials with water until they reach a workable consistency. Here’s what you’ll need:
- Soil: Preferably fine-grained, free from stones and organic matter.
- Water: Clean, preferably filtered.
- Sand: Helps reduce stickiness and adds strength.
- Optional Additives:
- Paper pulp (for paper clay, lightweight and eco-friendly)
- Natural fibers (for texture)
- Ash or grog (for durability)
🛠️ Step-by-Step Process: How to Make Clay for Handicraft
Step 1: Collecting Soil
- Find soil that is rich in clay content. Riverbanks, ponds, or garden soil often contain natural clay.
- Avoid soil with too much organic matter (roots, leaves) as it weakens clay.
Step 2: Cleaning the Soil
- Spread the soil on a flat surface.
- Remove stones, twigs, and debris manually.
- Sieve the soil using a fine mesh to ensure smoothness.
Step 3: Mixing with Water
- Place the sieved soil in a large container.
- Add water gradually while mixing with your hands.
- Aim for a dough-like consistency—not too wet, not too dry.
Step 4: Adding Sand
- Mix in fine sand (about 20–30% of the soil volume).
- Sand prevents cracking during drying and makes clay easier to shape.
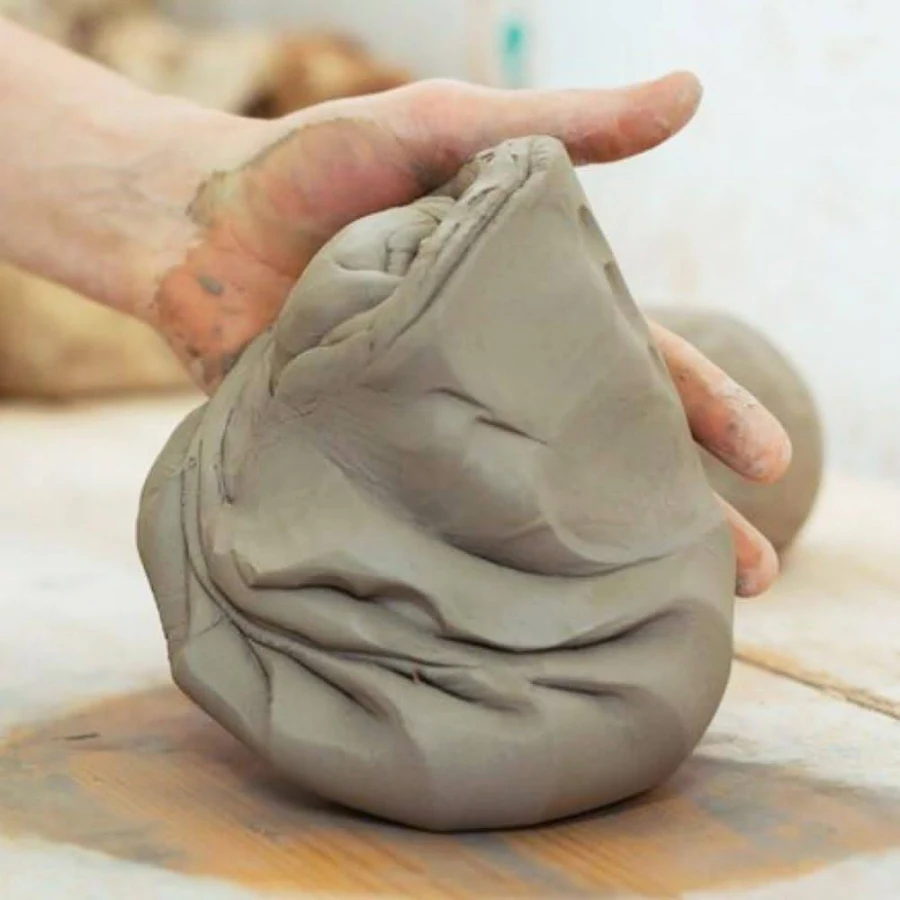
Step 5: Kneading the Clay
- Knead the mixture thoroughly, just like bread dough.
- This removes air bubbles and ensures even texture.
- The more you knead, the smoother your clay will be.
Step 6: Resting the Clay
- Cover the clay with a damp cloth.
- Let it rest for 24–48 hours.
- This allows water to distribute evenly and improves plasticity.
Step 7: Testing the Clay
- Roll a small ball of clay.
- Flatten it into a disc and let it dry.
- If it cracks, add more water or sand. If it’s too sticky, add more soil.
🌱 Eco-Friendly Clay Variations
If you want to make clay that’s sustainable and lightweight, try these variations:
- Paper Clay
- Mix shredded paper pulp with clay.
- Results in lighter, eco-friendly clay perfect for small handicrafts.
- Salt Dough Clay
- Mix flour, salt, and water.
- Ideal for kids’ crafts and ornaments.
- Cornstarch Clay
- Combine cornstarch, baking soda, and water.
- Smooth texture, dries quickly, and is safe for beginners.
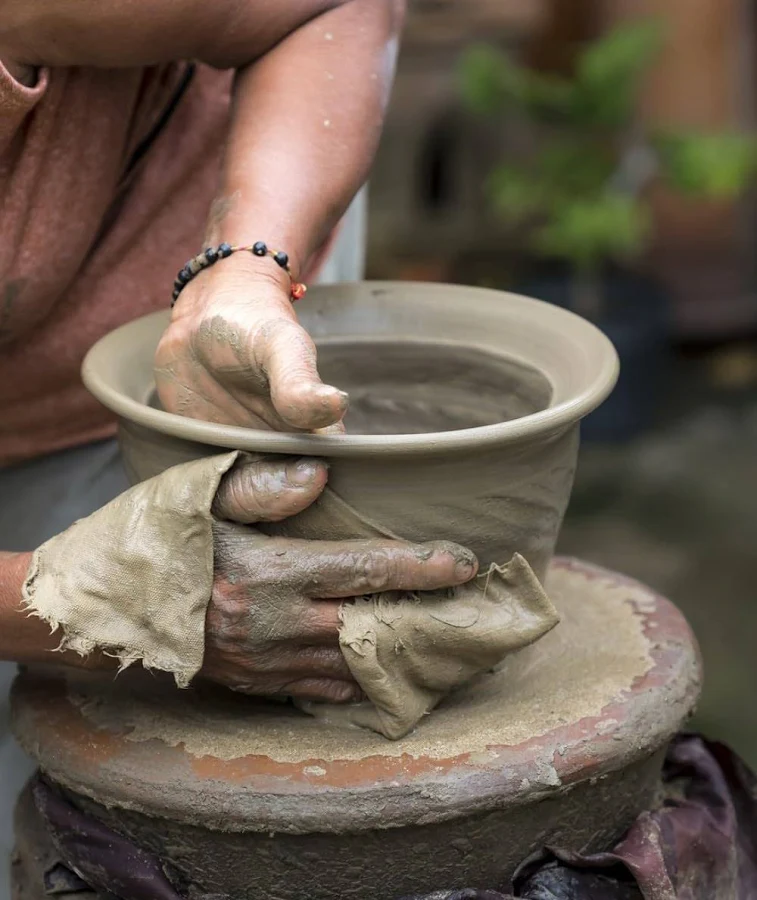
🎨 Using Clay for Handicrafts
Once your clay is ready, you can create:

- Miniature figurines
- Decorative pots and vases
- Jewelry (beads, pendants)
- Wall hangings and tiles
- Functional items like mugs and plates (if using kiln-fired clay)
Pro Tip: Always keep a bowl of water nearby while working. Dip your fingers to smoothen surfaces and prevent cracks.
🧩 Common Problems and Solutions
| Problem | Cause | Solution |
|---|---|---|
| Cracking | Too much water or lack of sand | Add sand, knead more |
| Stickiness | Excess water | Add dry soil or grog |
| Hardening too fast | Exposure to air | Store in airtight container |
| Air bubbles | Poor kneading | Knead thoroughly before shaping |
📦 Storing Clay
- Wrap clay in plastic or biodegradable wrap.
- Store in an airtight container.
- Keep in a cool, damp place.
- If clay dries, sprinkle water and knead again.
🌟 Tips for Beginners
- Start small: make beads or tiny figurines before attempting large pots.
- Experiment with textures: press leaves, fabrics, or stamps into clay.
- Use natural pigments: mix in turmeric, indigo, or oxide powders for color.
- Be patient: drying and firing take time, but the results are worth it.
🧭 Conclusion
Making clay for handicraft is a journey of patience, creativity, and tradition. Whether you’re preparing natural clay from soil or experimenting with eco-friendly alternatives, the process connects you to the earth and to centuries of artistry. With practice, you’ll discover the joy of shaping raw clay into beautiful, functional, and meaningful objects.
Clay is not just material—it’s a medium of storytelling. Every pot, figurine, or tile carries the imprint of your hands and imagination. So, roll up your sleeves, gather some soil, and start crafting your own clay today.